-
New customer?
Create account
local_shipping Free shipping on Orders Above $50
Products
Help
My Account
Reviews
Fix Your Vacuum Sealer with OutOfAir's T910-00159 Replacement Gasket
Watch this video on how a new gasket can help fix your sealer problem:
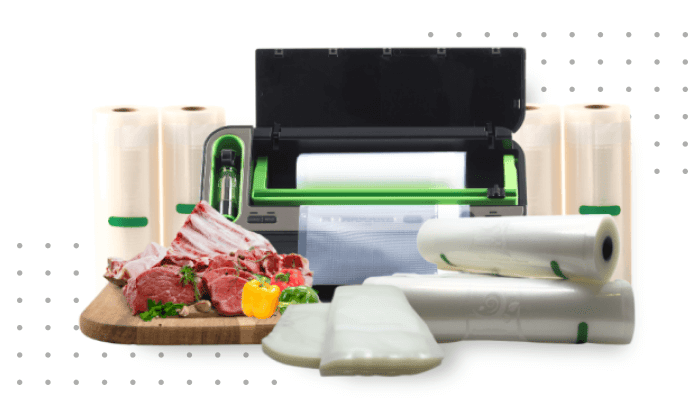
Many customers have tossed their vacuum sealers due to poor suction. Don't waste your money on a new machine! A simple gasket replacement can fix most machines and save you hundreds.
How to Replace the Gaskets
Before you start: leave the top gasket in place for now. It's a much bigger job to replace, and most sealing problems are fixed by swapping just the bottom gaskets. Only come back to the top gasket if the bottom replacement doesn't solve the issue.
Step 1: Remove the old bottom gaskets
Pull the old bottom gaskets out. They're sometimes stuck down with adhesive, so go carefully if they resist. Once they're out, remove every scrap of old foam and adhesive from the channel. Take your time with this part. If any residue is left behind, the new gasket won't seat right.
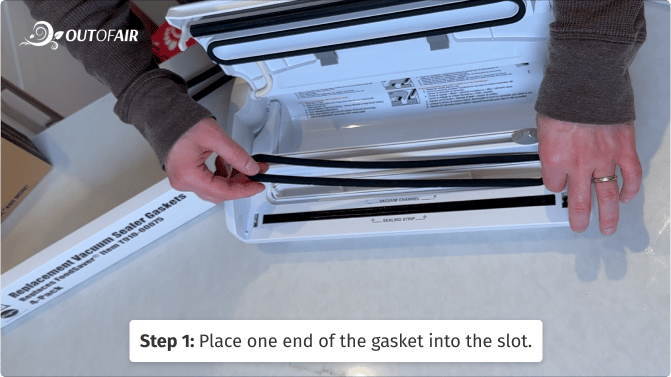
Step 2: Install the new bottom gasket
Press the new bottom gasket into the channel in this order: left side, right side, then middle. Run your finger along it so it's fully seated, then close the lid. See How to Properly Install Your New Gasket below for the technique that avoids stretching.
Step 3: Replace the top gasket (only if needed)
Heads up: this one is more work. The top gasket is always glued down, so removing it takes more effort, and installing the new one has to be done carefully to keep it aligned. Only do this if the new bottom gaskets didn't restore the seal. See Installing the Top Gasket below for the full procedure and video walkthrough.
Is Gasket T910-00159 the Right Gasket for Your Vacuum Sealer Model?
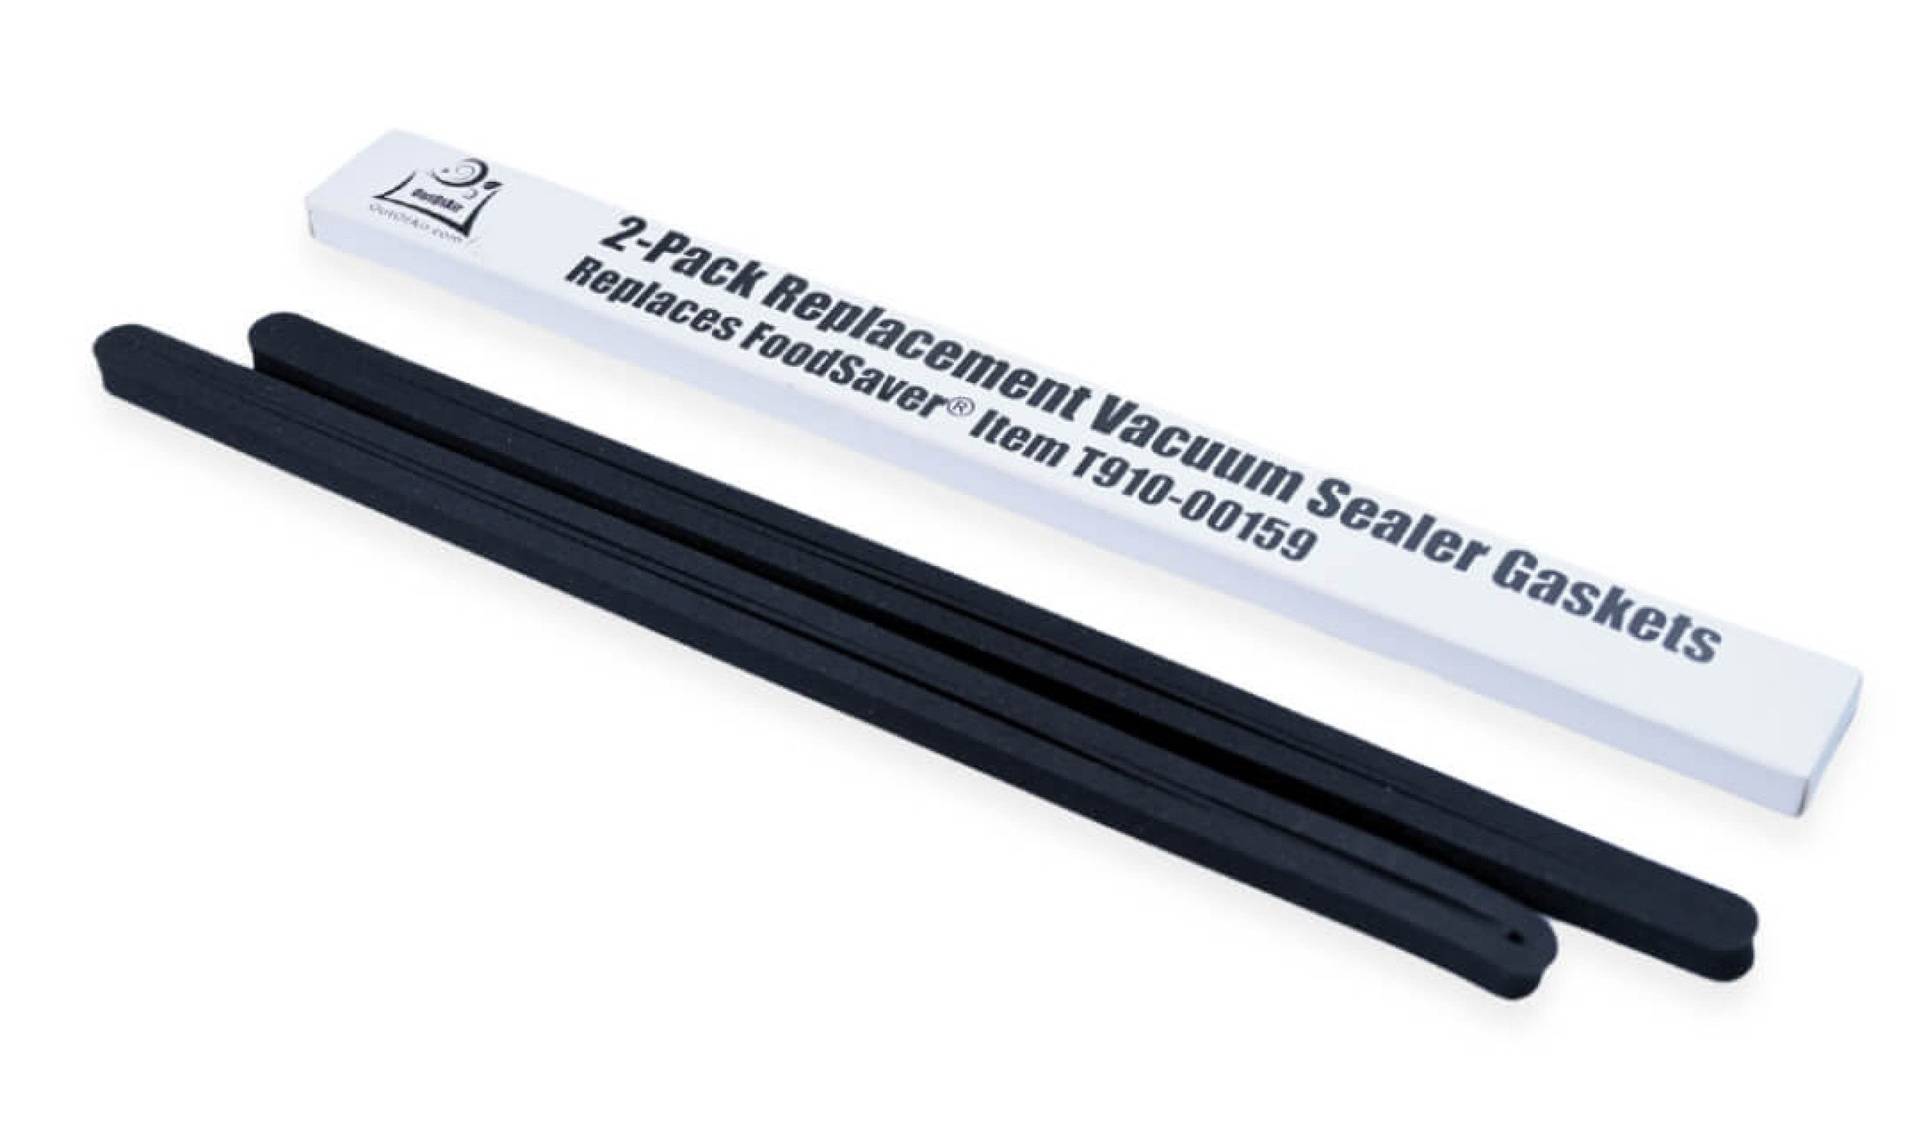
This is Replacement Vacuum Sealer Gaskets Item T910-00159. This gasket is mainly for FoodSaver machines and fits only certain models.
WORKS WITH: FoodSaver Deluxe (NOT GameSaver), 300, 350, 370, 750, 800, 820, 825, 835, 840, 845, 850, 900, 1050, 1075, 1085, 1095, 1200, 1205, Amazon Basics Vacuum Seal System (V101-A)
If your model isn't listed, check our other gaskets to find one that fits. If you still can't find the right gasket, send us a message, and we'll help you find a replacement.
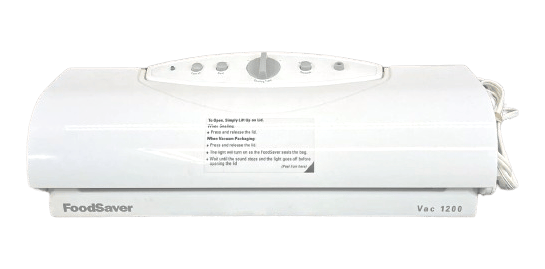
Where Can You Check Your Sealer’s Model?
Knowing your sealer's model is important to ensure that the gasket fits your vacuum sealer. You can check at the bottom of your machine or on some machines the model is printed right on the top or front. Not sure which model you have? Contact us and we can help.
How to Properly Install Your New Gasket
Once you have your new gasket, here’s how you should install it:
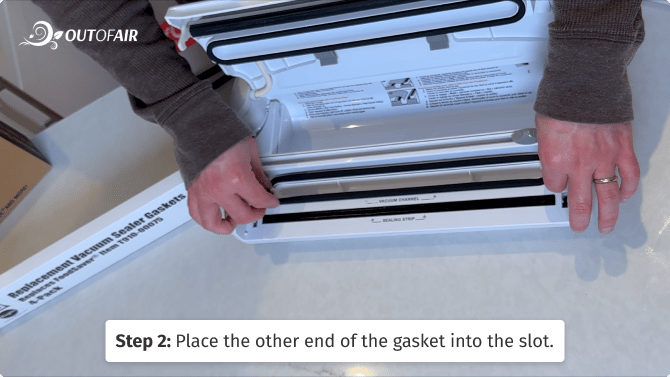
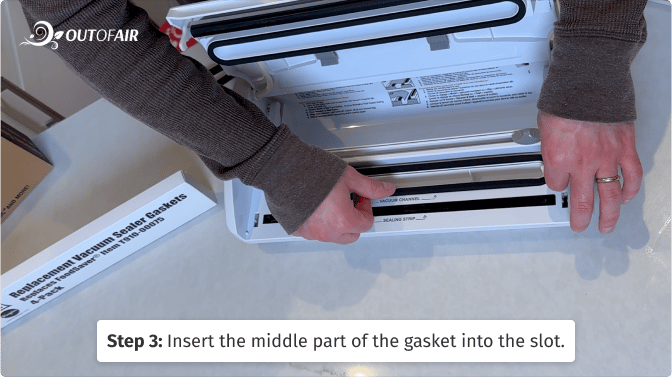
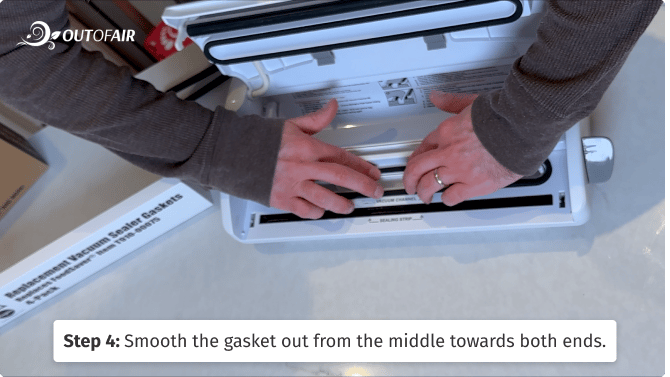
By following these steps, you avoid stretching the gasket. Starting from one end and going straight to the other can stretch the gasket, making it slightly too long.
Installing the Top Gasket
Watch the walkthrough below:
Step-by-step instructions
- Scrape the old top gasket off with a plastic scraper.
- Clean off the residue with sandpaper, rubbing alcohol, or adhesive remover.
- Peel the backing off one end of the new gasket and line that end up in the channel.
- Peel the backing off the other end and line it up too.
- Position the gasket along the channel so it's sitting where you want it.
- Peel the rest of the backing off.
- Press the gasket down in the middle first.
- Move to the quarter and three-quarter points, then keep halving the gaps until the whole gasket is pressed flat.
- Check your alignment as you work and smooth out any wrinkles.
Spot the Difference
There’s a clear difference between a vacuum sealer that has a failing gasket and a working one. Once you have replaced your gasket, you will be able to tell the difference.
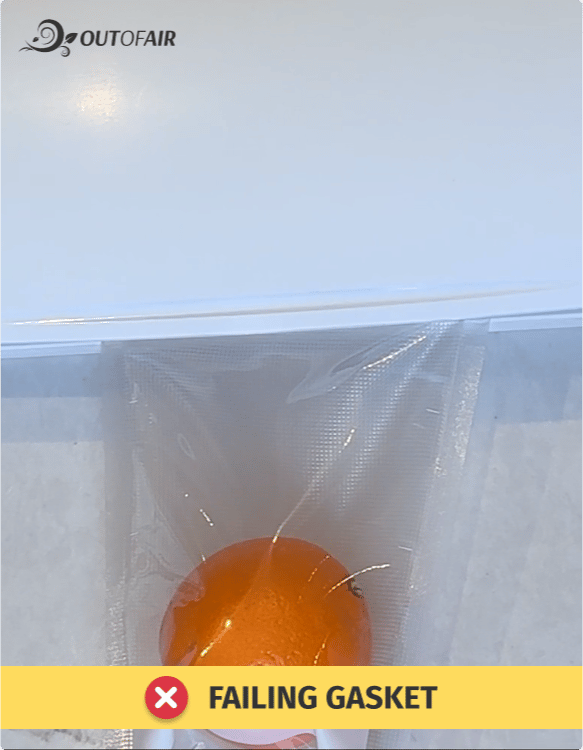
When a gasket is failing the machine may take a long time to suck all of the air out of the bag, or it may fail to remove any air at all. Often, this also causes the vacuum pump to keep running without engaging the automatic sealing function.
When a gasket is just starting to fail pressing down on the cover can sometimes create a tight seal for air removal, but you don't want to do that every time you use the machine.
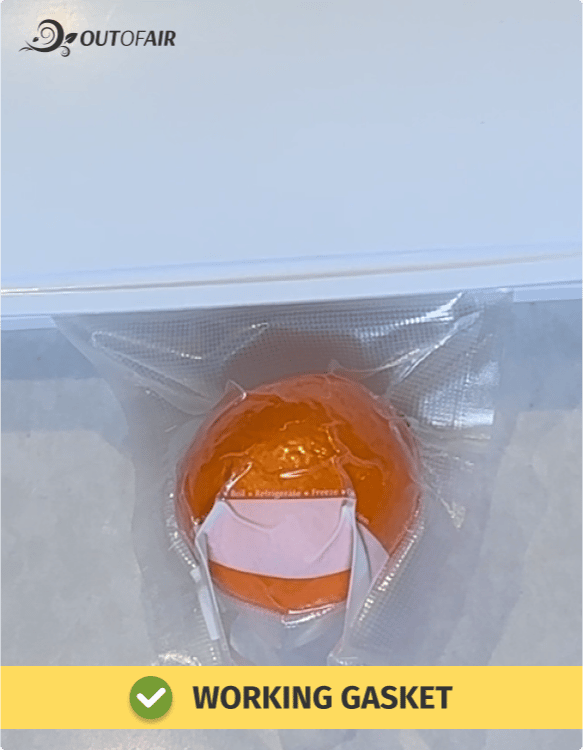
When your gaskets are healthy your vacuum sealer should suck the air out of the bag quickly, detect when the air has been completely sucked out, and it automatically seals the bag closed.
By simply replacing the gasket, the machine is back up and running.
We’re here to help you keep your machine going for the long term.
Save your money, you don't need to buy a new one.